אין מוצרים בסל הקניות.
אודותינו ואודות הקהילה

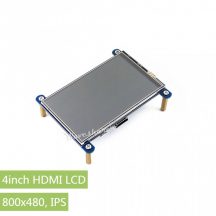
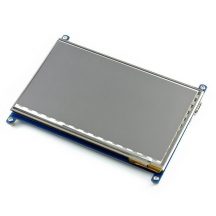
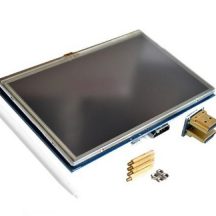
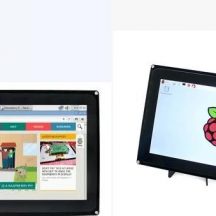
חנות אלקטרוניקה למייקרים
מה שיש לנו לשתף בנוגע לציוד האלקטרוניקה שאנחנו מספקים למייקרים


183.21₪ כולל מע"ממשלוח: 2 עד 5 ימי עסקים
קיים במלאי


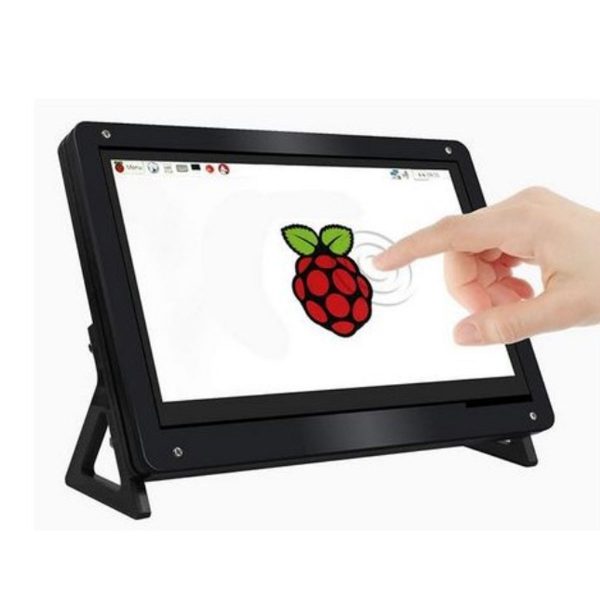
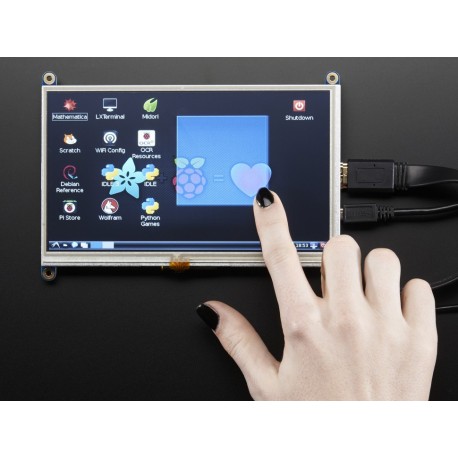
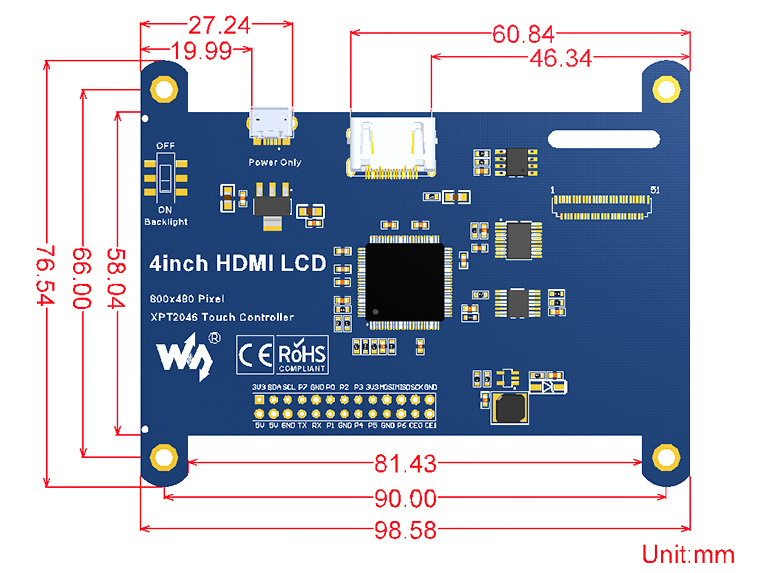
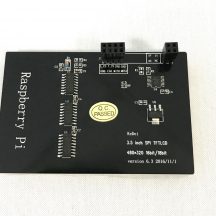
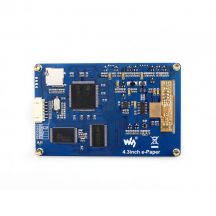
| PIN NO. | SYMBOL | DESCRIPTION |
|---|---|---|
| 1, 17 | 3.3V | Power positive (3.3V power input) |
| 2, 4 | 5V | Power positive (5V power input) |
| 3, 5, 7, 8, 10, 11, 12, 13, 15, 16, 18, 24 | NC | NC |
| 6, 9, 14, 20, 25 | GND | Ground |
| 19 | TP_SI | SPI data input of Touch Panel |
| 21 | TP_SO | SPI data output of Touch Panel |
| 22 | TP_IRQ | Touch Panel interrupt, low level while the Touch Panel detects touching |
| 23 | TP_SCK | SPI clock of Touch Panel |
| 26 | TP_CS | Touch Panel chip selection, low active |
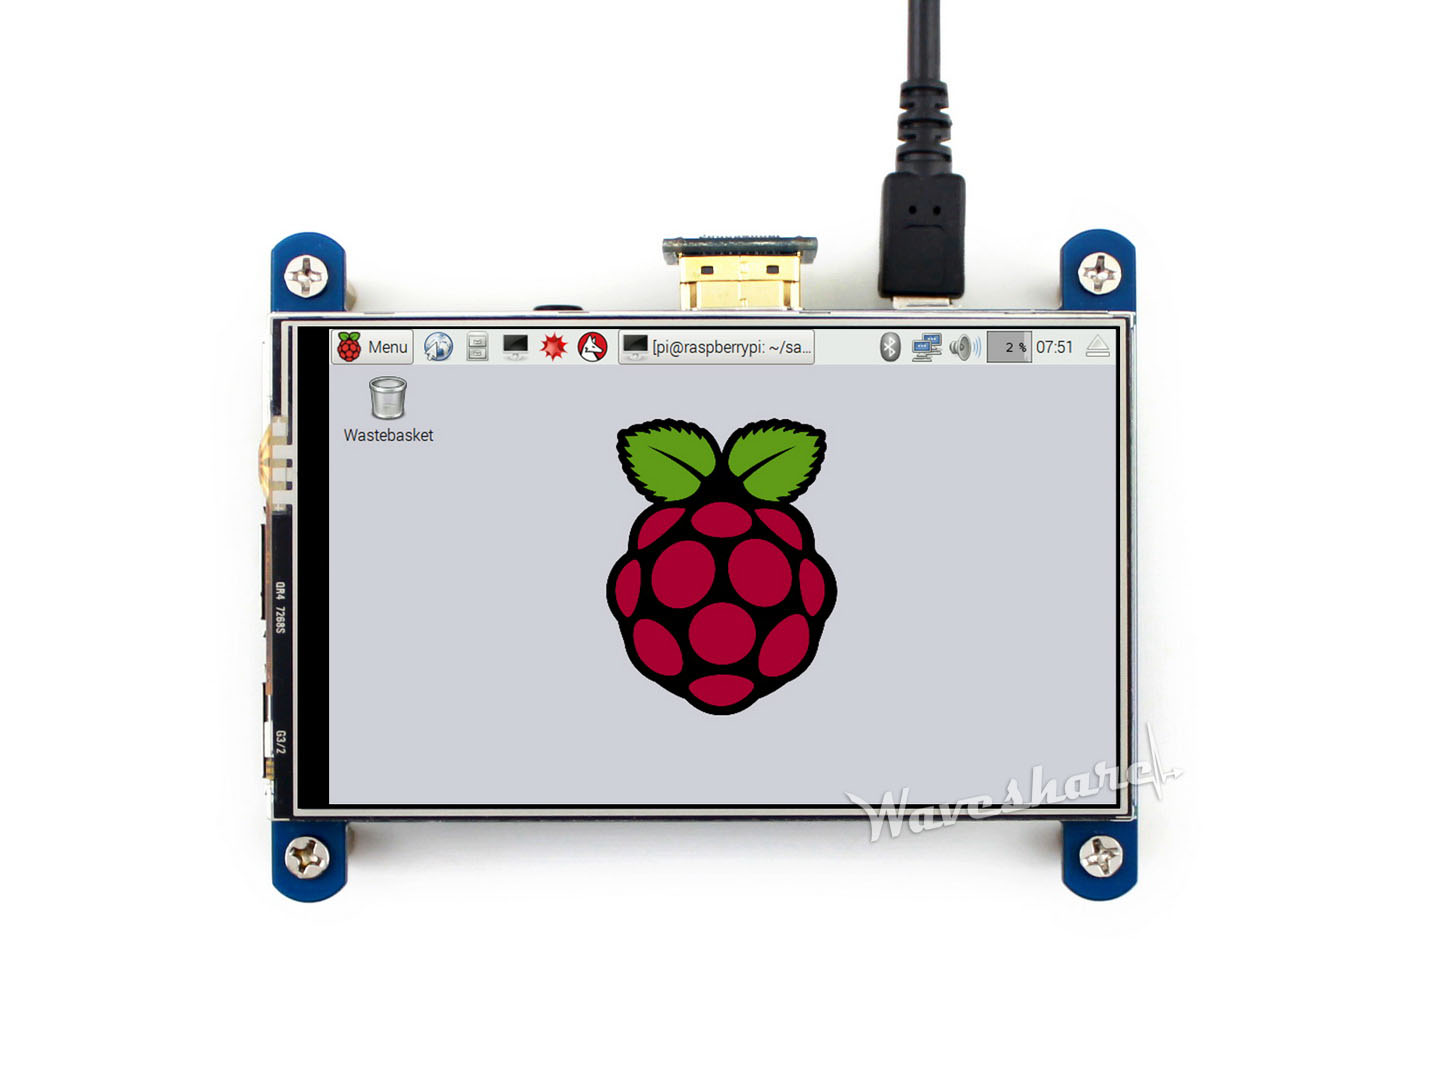
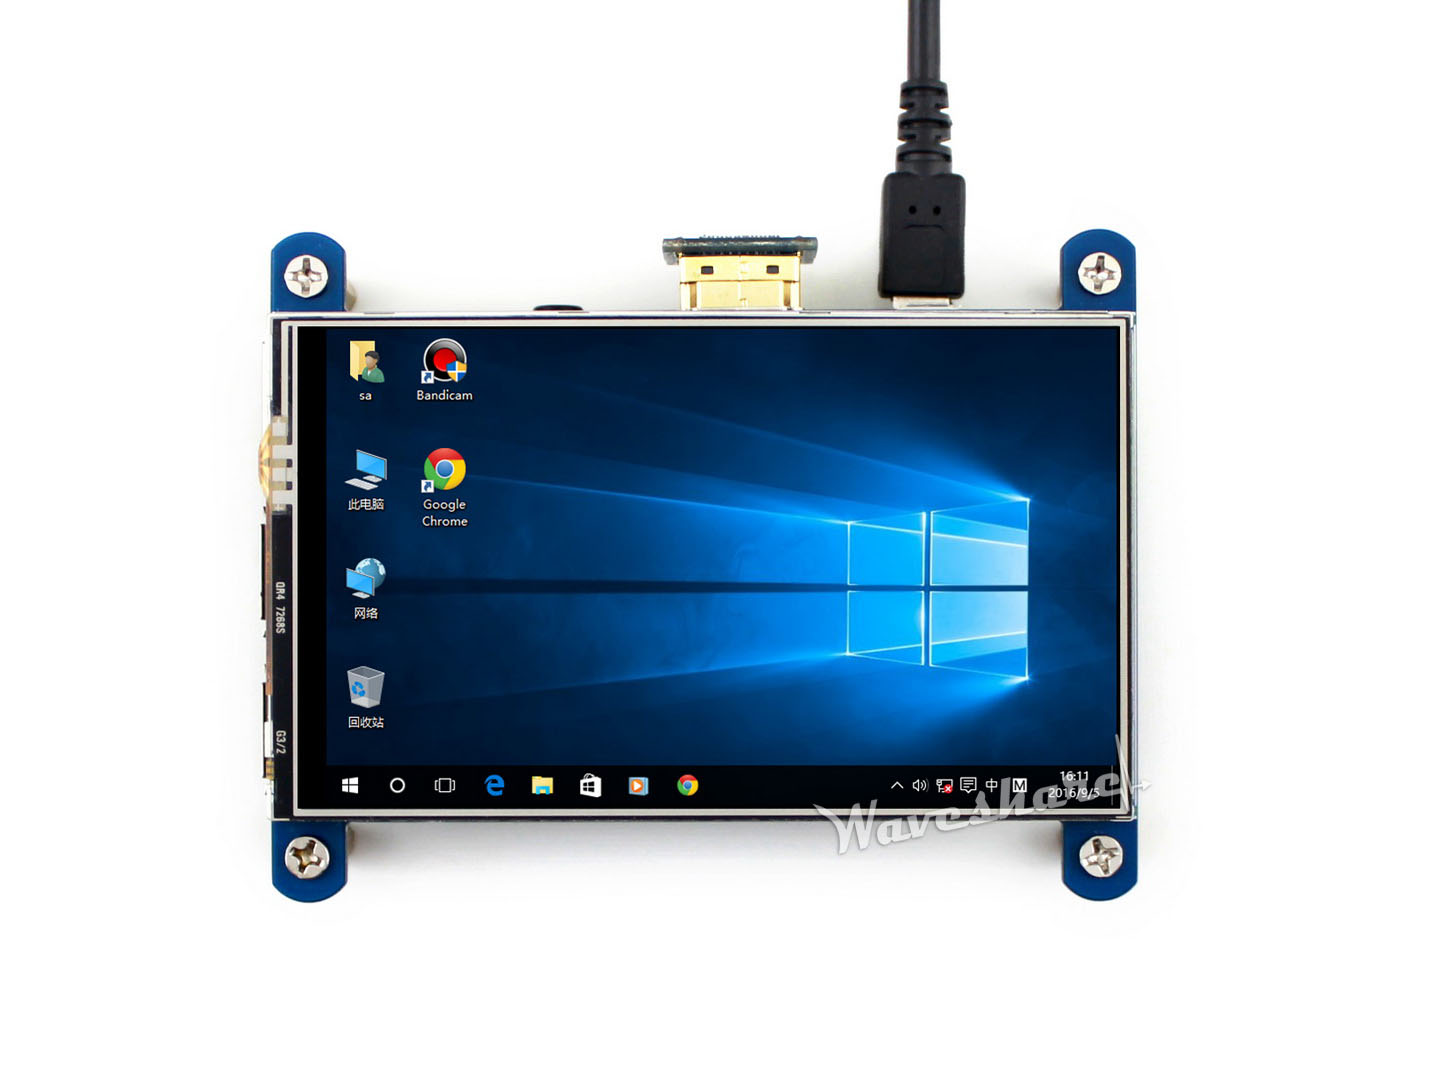
Wiki : www.waveshare.com/wiki/4inch_HDMI_LCD
For more info, please check the wiki page.
Weight: 0.09 kg


עדיין אין שאלות למוצר זה.
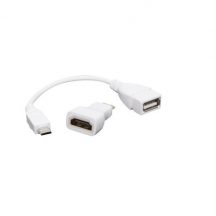
כבלים למסכים

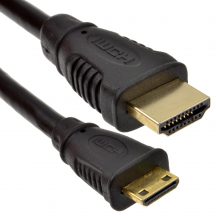
כבלים למסכים
כבלים למסכים

רספברי פיי

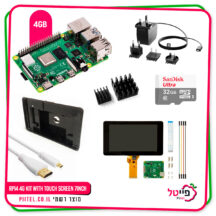
רספברי פיי
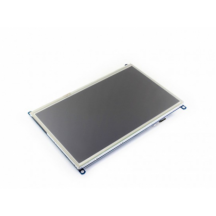
מסכים
מארזים למסכים
סימנת בפרטי המשלוח איסוף מנקודת שירות, יתכן וחברת השילוח תעדכן את נקודת האיסוף לפי שיקול דעתה במקרה של עומס בנקודת מסירה שבחרתם.
אני מאשר את התנאיםטלפון: 0584998006
כתובת: רחוב הצורן 4 א, נתניה
![]()

סימנת בפרטי המשלוח איסוף עצמי, כמה דברים לדעת לפני:
טלפון: 0584998006
כתובת: רחוב הצורן 4 א, נתניה
![]()